My name is
David Robins:
Christian, lead developer (resume), writer, photographer, runner,
libertarian (voluntaryist),
and student.
This is also my son David Geoffrey Robins' site.
The digital photo frame frame
News, Woodworking ·Wednesday March 7, 2018 @ 19:36 EST (link)
I've mentioned the photo frame before, but not shown any pictures thus far. The "frame" is a Raspberry Pi with an LCD screen, but alone it doesn't look great and doesn't stand up well (needs to be leaned). I made an elementary stand for the Hedricks to hold it straight and route the power cord out of the way, but my parents got theirs before the idea of one; in fact I was trying to finish it to send it back with them (and had to finish the wireless auto-updates when we came up in January).
This wood frame around the frame is based on an adjustable tablet stand and photo frame by Steve Ramsey (of Woodworking for Mere Mortals (WWMM)), but with minor changes such as leaving off the lower ledge (since I didn't need a tablet stand). This is essentially (not counting a wooden heart for Honey, also made to test my jigsaw table) the first piece out of my workshop, and it is full of lessons that have improved my technique and will improve the other two frames.
For the most part I'm buying tools as I have a need as part of a project (of which many are lined up). For this particular endeavor, Ramsey's first step in his video is to plane down some 3/4" wood to 1/2" so it wasn't so bulky. I did not go out and buy a planer; I'm not even familiar with the local lumber yards yet, so I picked up a small 1/2" oak project board from Lowe's for a reasonable price (about $6) instead. From it I cut some 1" strips that would become the stiles and rails. I ripped them on the table saw, a DeWalt jobsite saw (if I do enough of this I'll upgrade someday to a hybrid/contractor).
As an aside, the saw is one of the first power tools acquired for the workshop and used even before I had power to it via an extension cord from the garage. In fact, it was in part the occasion for bringing power out there, as using it with a work light on the same extension cord caused the light to dim. I plan to write about it more in depth, but to summarize, I have a proper buried 100 A line to a sub-panel with three 20 A circuits (3 receptacles on the left, 3 on the right, 2 at the back) and a 15 A circuit for a couple 4' LED lights in the main shop, a 7" round light in the loft, and a motion light outside. I installed everything except for the buried cable, which I hired someone to do and was done very poorly and required a lot of work to fix (missing ground rod, unusable panel, open neutral, leaky wall, that sort of thing). I eventually straightened it out and it's great to have working power and light, enough to run dust collection and the saw or a heater, etc. at the same time. The first shop project I built was a cross-cut sled.
Ripping such small strips on a table saw didn't feel safe, and as a fan of WWMM I was well aware of Microjig's Grr-ripper (a sponsor humorously introduced at the start of most of his videos) and I purchased a couple of them. A push stick can't simultaneously push down, forward, and hold both pieces toward the fence without pinching, and the Grr-ripper can and did, and although they're a bit pricey ($60) I consider them worthwhile for the added safety. I should mention building this fairly simple frame took me, all told and spread over evenings, about a month; of course now that I know what I know and have the tools I need it should be doable in a couple evenings. I used the table saw's miter gauge to cut miters; it didn't seem worthwhile to build a sled. They were workable but not great, but at least I knew not to try to fix them by removing material at an angle (see), and as I was a little tight anyway (another lesson). In future I'll be checking the angle against the blade with a drafting square. I also cut a strip from the oak board to make a better rail for my cross-cut sled, which was far too loose, and this called for buying a caliper for making accurate measurements. I cut a dado with a router I'd bought for the project (round-overs and rabbets) (table saw doesn't take a dado stack), into which this rail fit perfectly (but when the weather got warmer it required a little sanding and some paste wax to avoid jamming). Then I had to redo the fence.
So… back to the frame. To be able to join the pieces together I had to first drill holes for the threaded rod that would connect to the side supports and star knobs to allow for adjustment. "I just picked them up at the hardware store," he says, but my locals don't carry any and even Amazon is hard up until I find a bag of 10 fairly reasonably, "1/4″", also something about M6, probably an internal model number… nope, it's a metric screw diameter (and "1/4″" is just to get search hits). Finding M6 threaded rod nearby is impossible, but I find some machine screws in the "specialty" bin and cut the heads off with a hacksaw; that works. (In this period I probably bought and returned 50 items to Home Depot, although on net I was probably still worth retaining as a customer.) So, drill a couple test holes in scrap to find out what will make a tight connection—I think 7/64 did it—then put the stiles on the drill press (this I've had a while for a project with gears) (bit low, turns out), then ratchet in the screws to cut threads. Go to glue it up and the glue won't squeeze out: turns out it doesn't like extreme temperatures so it's a big rubber ball; it's late, so head to 24-hour grocer (Meijer) to replace it. Glue, clamp, leave overnight (inside). Turns out decently.
To the router for rabbeting. Fairly new at this; all I've done is (with the fixed base) route a 3/4" dado for the cross-cut sled's rail. I got a router table from Craigslist (a little before I even had a router, but I had a good idea of which one I'd get) at less than half the best online price, so I set up the router in it (on the floor; I need to build a base; for now I'm kneeling). I also got a dust collector from Craigslist and it's worked well with the table saw and now the router table with a 2 1/4" to 1 1/2" adapter. So: against the turn of the bit (most of the time): it's left to right hand routing, right to left in the table, except inside a shape where it's right to left again. 1/2" dado 3/8" high, goes well enough, corners are of course rounded, which I thought was fine since the Pi display is too, but the display's rounding is negligible, so bring out the chisel. I also needed a little more vertical room, so another bit. (It also turns out I hardly use the cheapo set of Kseibi bits I bought and just use the somewhat better ones I bought for specific purposes.) Also rounded over the outside front (straight edges and test pieces to avoid leaving a ridge). Laid that aside.
Side supports next. There's a 1:1 template in the WWMM (free) plans PDF; print a few copies, cut them out with scissors, cut some rectangular blanks from the oak board, stick the paper template to a blank with packing tape. Realize that I'm not going to be able to cut this with the jigsaw I bought for the purpose (too small a piece to cut unsupported). Turn it into a "jigsaw table" (poor man's bandsaw) by unscrewing the lower plate and using a drill and the jigsaw itself to cut holes for it into a foot square piece of 3/4" plywood. (Remember the M6 threaded rod? The screw for the jigsaw is also an M6; of course it is, Bosch is a German company.) Route a countersink for the machine screw (large enough for the socket) so it doesn't sit above the table. For now, I'm using it clamped to my workbench (a far earlier project; there's probably a post about it). (Later I'll cut some legs from the same plyboard, acquire a compressor and brad nailer (good deal on a DeWalt kit at Home Depot), and glue/tack them and take back my clamps. Tiny bit of sanding on one leg to level.)
From there I cut a template into some particle board shelving (unsuitable, so it joined the scrap pile), traced the template to the blank, and cut loosely around it. The plan was to use a pattern bit (got one with both top and bottom bearings) in the router table, but it didn't feel safe at all (especially after it whipped it out of my hands) so I screwed the template to some scrap wood, clamped the scrap wood in a bench vise, attached the workpiece to the template with double-sided tape, and used the plunge router base to hand route. There wasn't always as much area for the base to rest on as I'd like but it generally went well. Since then I've picked up some ideas from Tom Silva on an episode of Ask This Old House: attaching the workpiece and template to a larger piece of scrap wood and either attaching a "sled" to the router base for it to ride on (disadvantage: can't rotate it as far) or attaching a rail of the same materials/thickness so the router can ride along it and the workpiece; Rockler also makes a "small piece holder" jig that would make copying in the router table safer. Sand by hand, not great. Follow WWMM and pick up an oscillating spindle sander (Wen) which is much better. Round it over, drill a hole for the screw (loose enough for it to rotate this time). The end is in sight.
Finish is going to be spray lacquer (also inspired by Ramsey): sand, clean with tack cloth; with the doors open for ventilation, apply lacquer, two coats outside, one inside. I'm excited to see the finish product so I assembled it—put the screws back into the side of the frame, washers, supports, and star knobs—and put the Pi in the back and tacked it in with a Logan Point Driver, which worked great. Despite the flaws, I'm fairly happy with it and more with what I've learned and expect the next two to be considerably faster and better quality.
Aunt Julia visits
News, Baby ·Monday February 19, 2018 @ 10:08 EST (link)
One of the few places DGR will sleep: the Word Test bean bag chair.
Julia and Alessandro came to visit us, arriving on Friday; they met us at Wild Ginger and we had a nice meal together with DGR on his best behavior except for screaming bloody murder on the drive back (he likes neither the dark nor his car seat).
We went out to the range out back; a fairly big tree had fallen across it, but it wasn't in the way. We shot the AR-15 and a couple of pistols: the 9mm XDM and .45 Kimber.
He also was able to roll himself over consistently around this time. Julia and Alex headed back Monday after I'd left for work.
DGR's first trip to Canada
News, Baby ·Monday January 29, 2018 @ 20:21 EST (link)
I took a couple days vacation for an extended weekend trip to Canada. We left in the morning of Friday the 26th, and headed home morning of Monday the 29th. This will be David Geoffrey's first trip to Canada. Here just before we left he's having peas for the first time, which he liked.
Now we've arrived in Canada; plenty of family to hold him. We also visited with Bethany and Sam, and the Yades—Joelle and family were also there—and (later on Sunday) with Scott and Loretta.
The family had dinner at an Italian restaurant, and we first saw Emily and Johnny as an engaged couple (congratulations!). DGR was also a hit at Brockview, in the overalls outfit Sharon and Mike bought him. We also took a picture of the four David Robins's together (thanks to Danielle).
The addition of Monday as a vacation day was an ad-hoc change; it's not as easy to travel with a baby as when it was just the two of us, with the feedings and changings and how unhappy he can get in his carseat over long periods; we really wanted to be around Sunday to see friends at Brockview, so the extra day was hard to avoid. Great trip, pretty smooth at the borders, and he traveled well for the most part.
DGR: carrots, and a light/fan timer switch
News, Baby ·Saturday January 20, 2018 @ 06:37 EST (link)
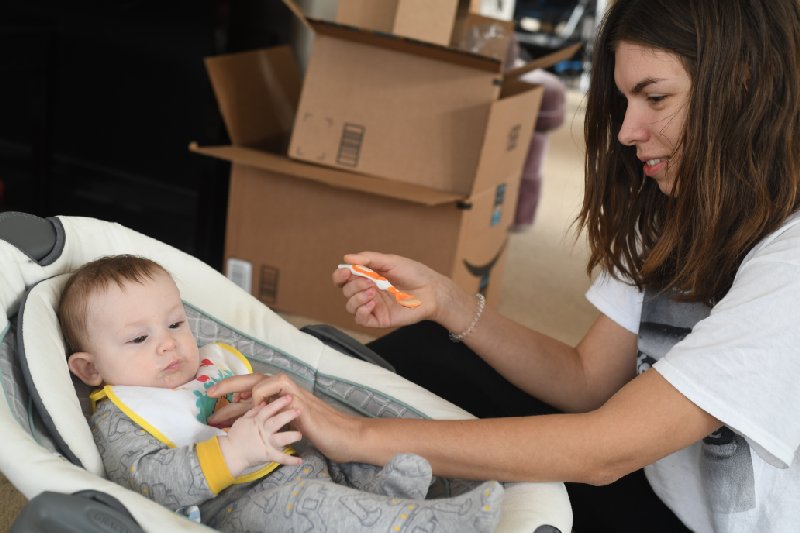
Typing this at 0630 while holding a just-sleeping DGR—after we watched a few episodes of This Old House together. Honey is not feeling well and is sleeping after a long night with him. Some pictures including him having carrots and getting ready to have some rice cereal.
I installed a Lutron MA-T51MN countdown timer switch in our downstairs bathroom for the light/fan (combination unit). It's about $35 and a good energy/time saver; set the timer (5-60 minutes) and let it count down and turn off automatically (can also be set to "on" to stay on normally). When there's a minute left it will turn off momentarily and then the LED will flash faster for the remaining time. If a time greater than 5 minutes is set, the LEDs will move down through the settings as it counts down. I looked at several of these switches online and this was about the only one that didn't look terrible.
Wiring was fairly simple: after turning off the breaker and removing the wall plate, I had to unbundle the neutrals (NEC 2011 requires them to be brought to switch boxes, and they had been, joined with a wire nut) and connect a neutral wire to the switch, and then move the common/load hots from the old switch to the new (new is pickier, common must go to black screw terminal). There is a version that doesn't require a neutral (the non-MN model) and apparently uses a trickle charge to power the LEDs (which may not work with very energy efficient low wattage fans). It works great; I have another one to install in the master bathroom too.
In the continuing workshop power saga, the ground rod has been installed and connected. When I went to install one of my tandem breakers in the 70A sub-panel the first "electrician" (let's call him bozo for short) installed, there was no room since the #2 wires coiled around inside took up too much space. I considered turning it upside-down so the wires would come more directly to the lugs (minor code violation: breaker "on" would no longer be up), but I couldn't get the hot wires back into the lugs, so I opted to move up to a 100A panel: much better fit, and going from 2 to 6 spaces means I no longer need tandem breakers.
I installed a first receptacle, but it was not able to power a lamp. Broke out the multimeter. 16V from ground to neutral; apparently this is way out of spec; max of about 3V is expected. 124V from ground to each hot; 104V/136V from neutral to hots. Something's wrong with the neutral. Probably has something to do with how it's wire-nutted to a much smaller wire using a wire nut thinner than the #2 wire itself (an electrician friend says a split bolt should be used); so it's probably an "open neutral" that shouldn't be too hard to fix—I hope. Measurements at the service panel from the breaker going to the workshop to the (bonded) ground/neutral are the expected ~123V.
Christmas, 2018, workshop power
News, Baby ·Monday January 1, 2018 @ 00:04 EST (link)
We drove back home New Year's day (because some people must see the New York City ball drop amidst a crowd of freezing idiots with no bathroom facilities), had a fine trip drive (although DGR got a little grumpy toward the end), and a little bit of a holiday at home before going back to work on the 2nd.
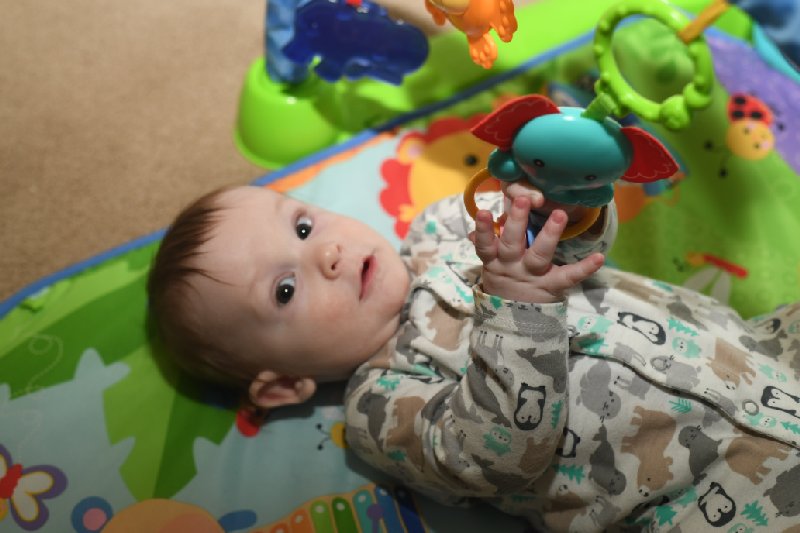
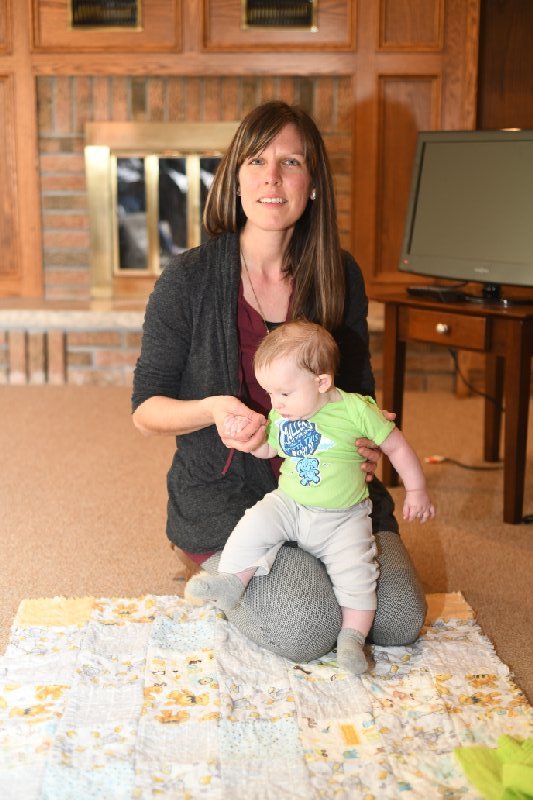
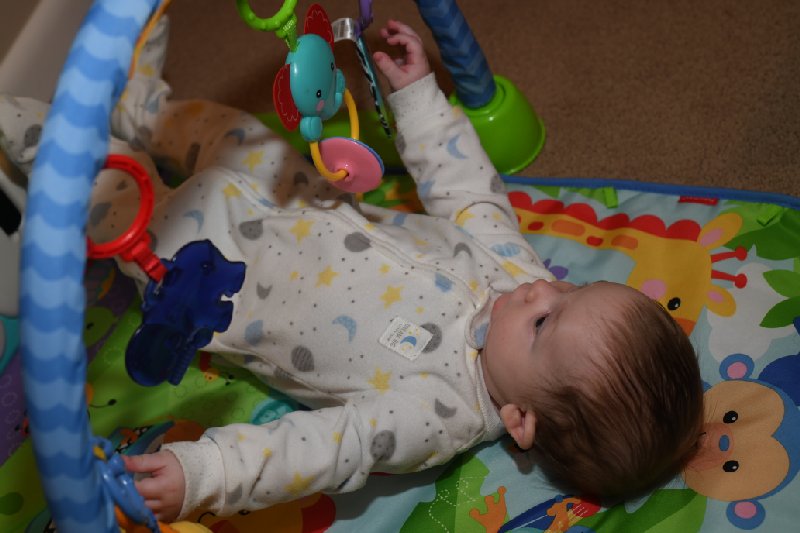
David Geoffrey got a lot of great new clothing, some of which can be seen above (and in the previous post), like the plaid shirt (onesie) and overalls from aunt Sharon, and some toys (many musical), mostly not shown, although one shows him on the mat with the blue arch and "foot piano" that we got him and there's one of a "sensations ball" with protuberances of different materials that he likes to bite. At time of writing, which is acutally the 12th, he's 15 pounds 6 ounces and 26 inches (and just had his 4-month vaccinations, which did not please him at all)!
Some progress has also been made on getting power to the workshop/shed, although many steps back as well. The "electrician" I hired managed to dig the trench and get the wires across, but left destruction as he went: his digging machine mangled our buried propane pipe (which I'd warned him about in advance), and even after repairing that section it still seems to be leaking (pulled out further down?) and will need further repair—fortunately we do have someone competent that did the first repair and can probably do the rest. Evidence shows no grounding rod installed (no connection to the panel); to put in the connection in the service panel he apparently disconnected our generator transfer switch, and left a gap in another panel, which may need an electrician to repair. He also connected ground from the service panel to the neutral bar in the sub-panel, which is wrong and potentially dangerous (a separate ground bar is required). We will be doing a chargeback and paying competent professionals to finish the work; I brought a grounding rod (8' long 5/8" diameter copper) home (in the Civic—back seat down) and ground bar home today, and hopefully can be back on track this weekend. Even if not, I can rough in the lights and receptacles and not connect them until ready. I also have Ethernet in the workshop (maybe for a security camera), but it needs to be pulled across the garage to the switch; I just wanted to have it put in the trench while it was open.
The days before Christmas 2017, West Virginia
News, Baby ·Friday December 22, 2017 @ 12:48 EST (link)
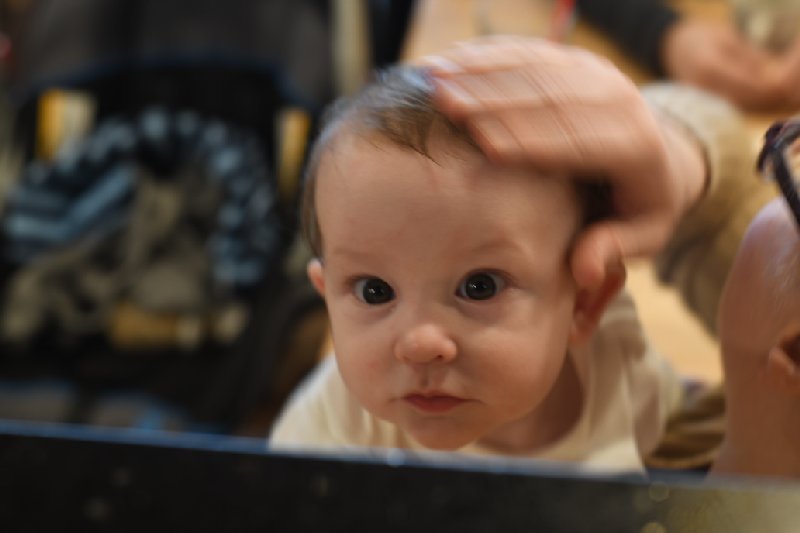
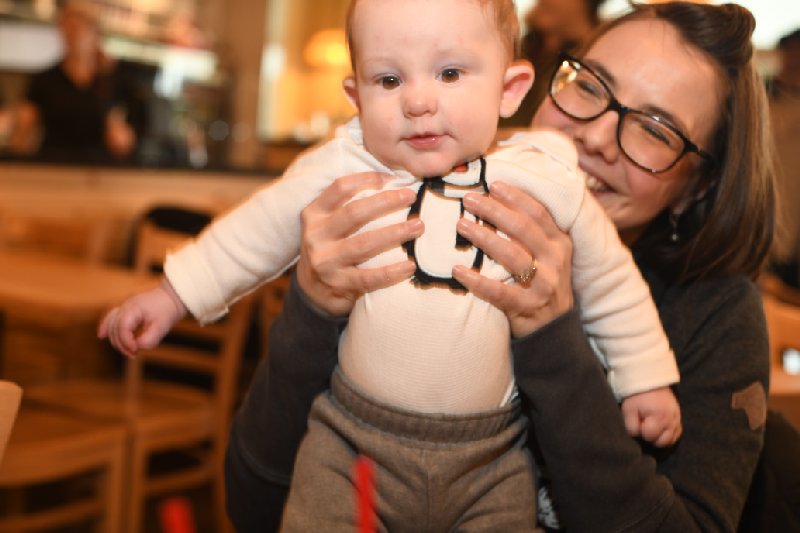
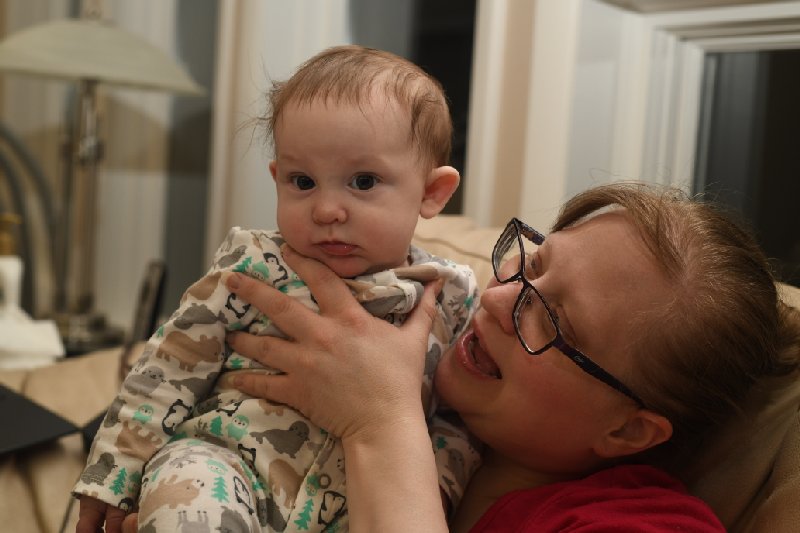
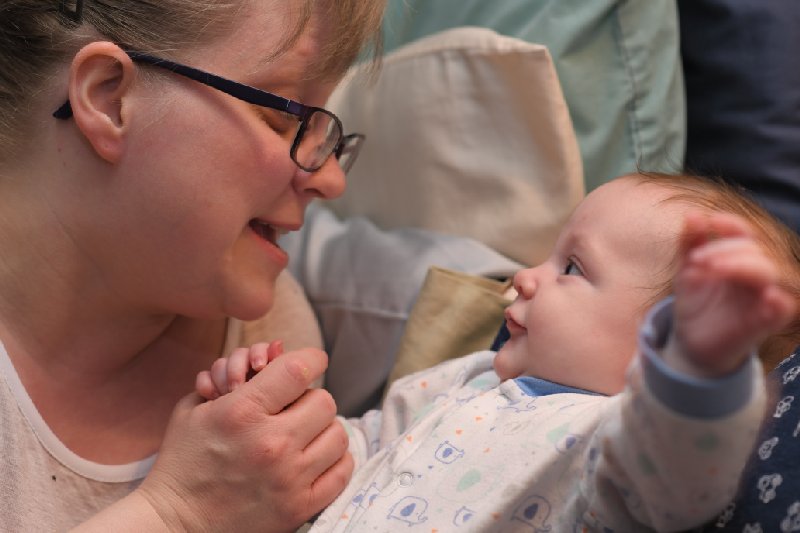
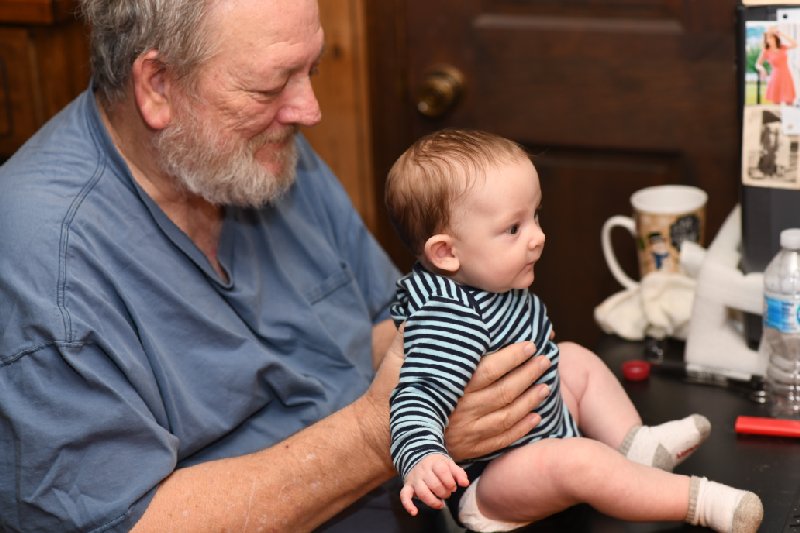
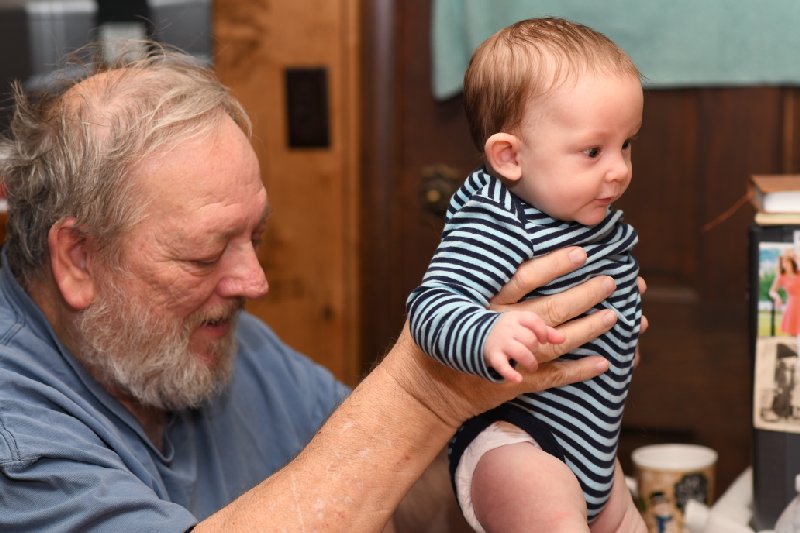
Starring David Geoffrey!
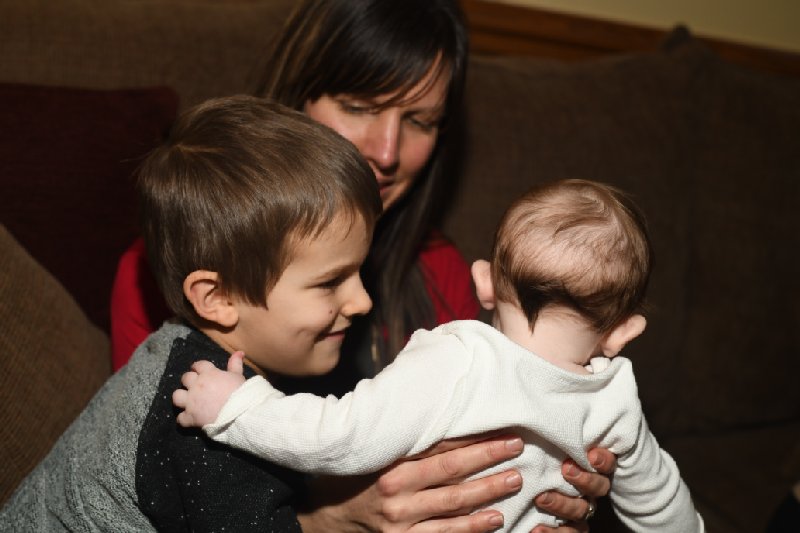
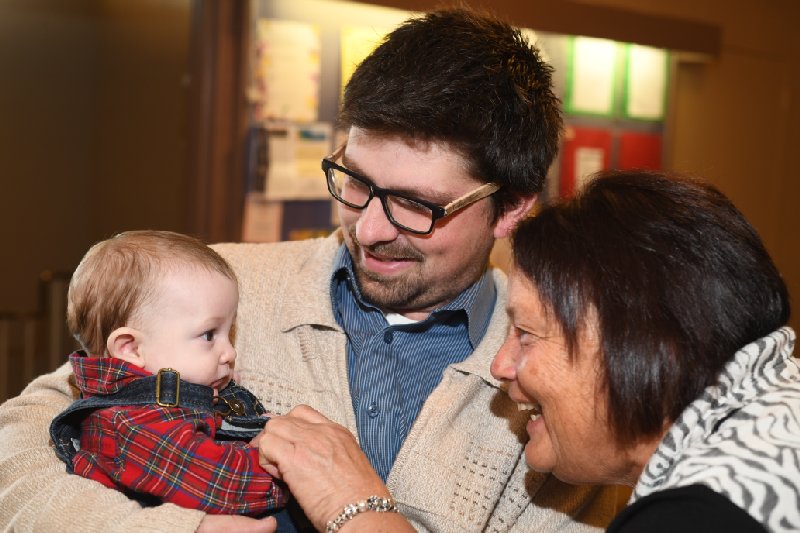
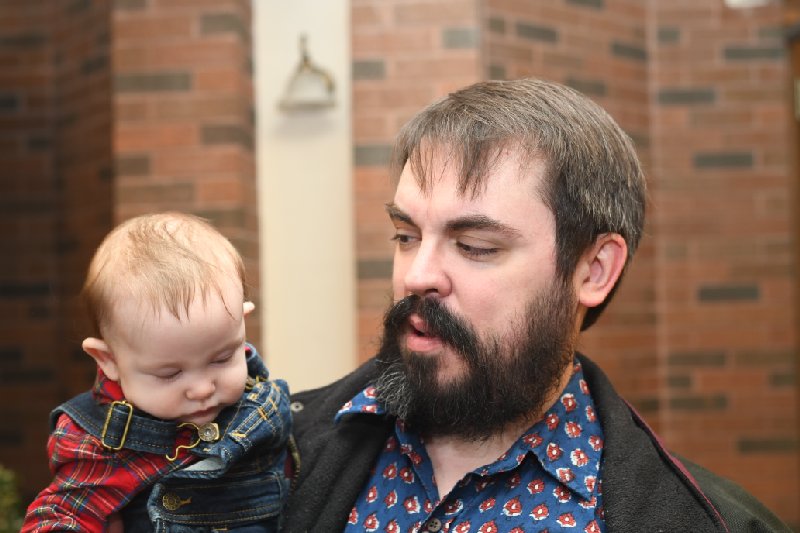
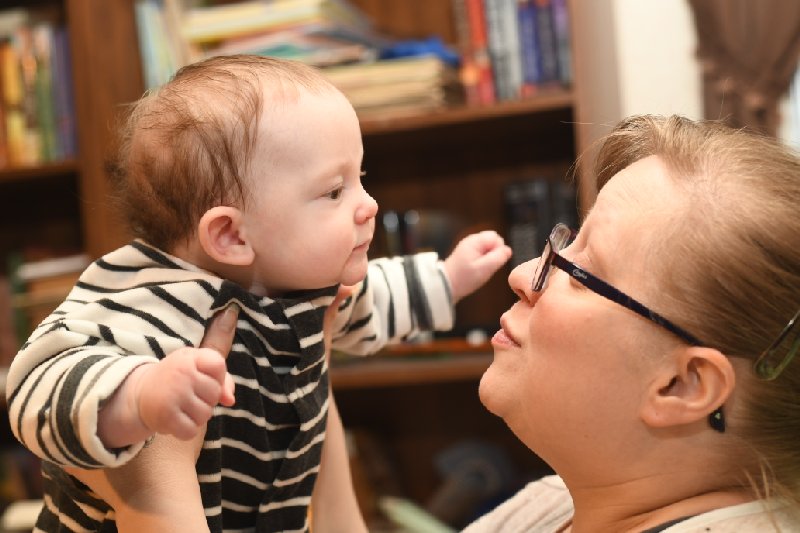
Dressed for church in new shirt and slacks; hanging out with Grandpa and Mommy (Grandma's working during the days, so we'll have to get more pictures of her), and all-around having a good time. Except when he has to have his fingernails clipped or nose unstuffed!
Grandma and Grandpa Robins visit
News, Baby ·Sunday December 10, 2017 @ 08:38 EST (link)
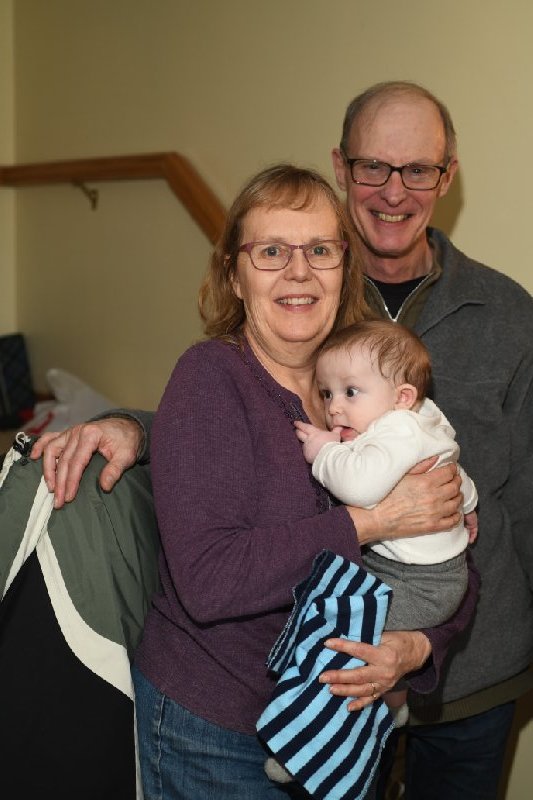
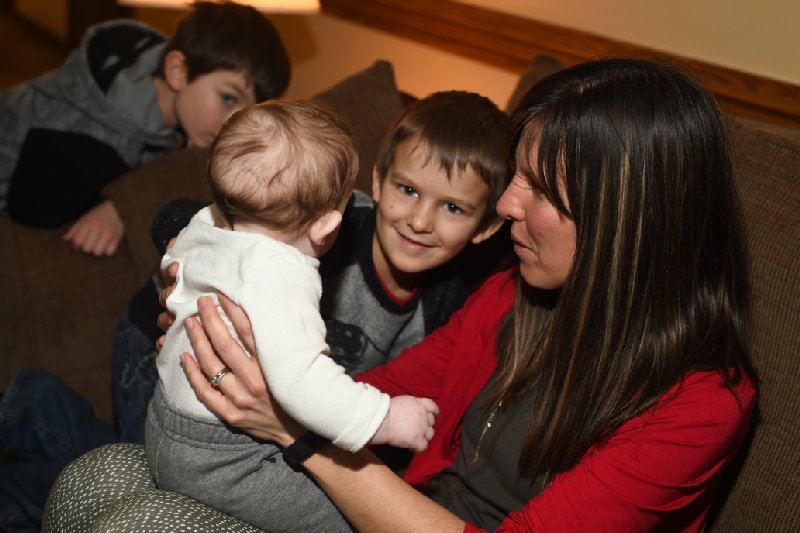
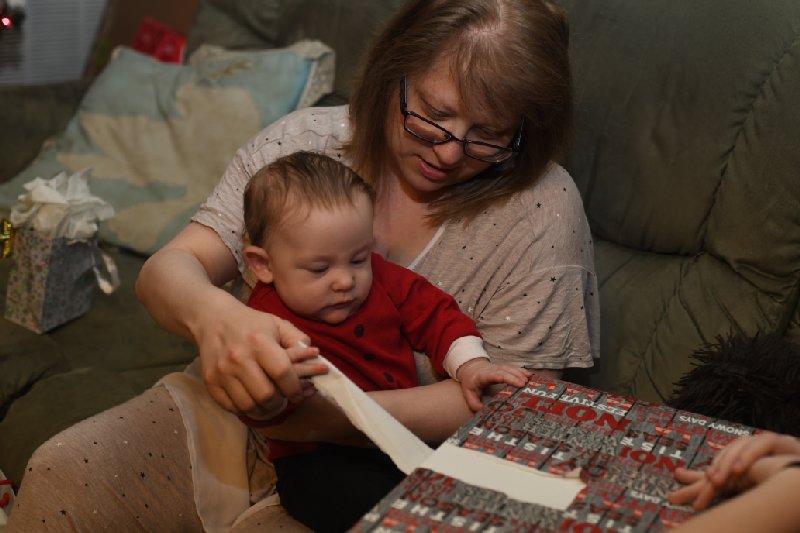
My parents came to visit us for the weekend, arriving Thursday night and staying through Sunday morning; it was their first visit to our house here in Indiana, and first time meeting David Geoffrey.
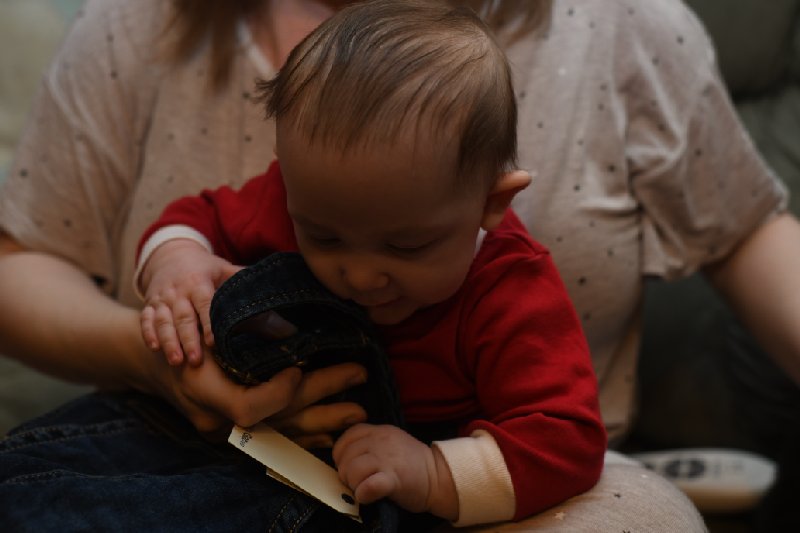
Young David received many gifts (Christmas and birth) from his grandparents, aunts, and other relatives; lots of new outfits and a few toys like the Fisher-Price Squirrel car shown above.
David Geoffrey: holding objects
Baby ·Saturday December 2, 2017 @ 13:31 EST (link)
He first begins to hold objects, like his set of plastic rings.
Thanksgiving 2017 in WV
News, Baby ·Sunday November 26, 2017 @ 18:02 EST (link)
David Geoffrey's first trip over an hour. He did not like being in his car seat so long, and once cried himself to sleep (ear protection came in handy), but generally did well during the six-hour trip. We headed up Wednesday evening, leaving after my Nikon D850 (finally!) arrived. It no longer takes CompactFlash cards, but I had already bought a couple of XQD cards and a USB reader. These pictures, then, are the last with the D300, and the first time Grandpa Hedrick got to see his grandson:
Now we switch to the D850 (and the next morning, after charging the battery); quite easy to setup; the biggest changes I made were to set it to shoot NEF and JPEG like the D300. The charger is a little different; for one, no cord; there's a "local" plug that attaches directly to the block the battery sits in.
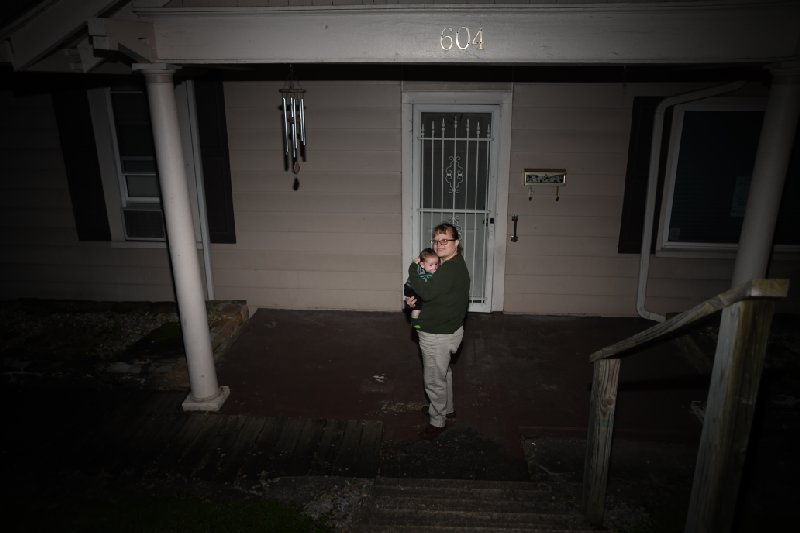
The last picture is of Honey and DGR at her parents' old house; they moved to her grandfather Pollock's house after he passed, about a year and a half ago, and it's for sale, so Honey wanted a picture. I also took some photos of the interior to be shown to potential buyers; it was nice to have my 20mm wide angle "back" for that (full frame vs. DX crop).
We had a great turkey dinner, and also went to see Steve, Peter, and Jack at China One (Bing and Shirley were in China), and ate at Twin Falls park restaurant.
Life with baby (10 weeks)
News, Baby ·Tuesday November 21, 2017 @ 22:59 EST (link)
A few notes about living with David Geoffrey—not to vent or complain. We also refer to him as our "babbisiet" (the etymology is uncertain, but it comes in part from "babby" as a misspelling in a M*A*S*H episode when a Korean baby is dropped off at the hospital).
First, since I'm working full time (and my company gives no paid paternity leave whatsoever—I wish I were still at Microsoft in that regard), I still sleep about eight hours a night; since Honey doesn't work and since she has the food, she deals with the two-hourly feedings, which have gotten somewhat better now. David G. "technically" slept through the night, meaning five hours, for the first time yesterday.
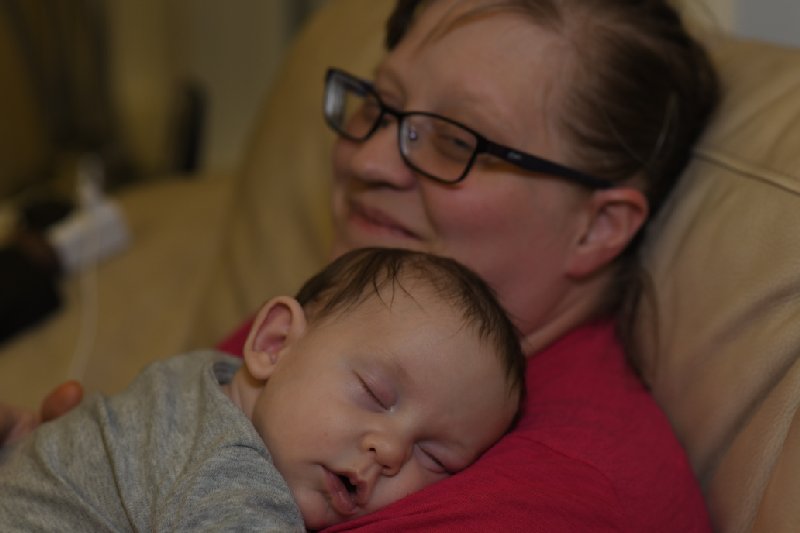
For a little while Honey and baby were sleeping in one of the bedrooms downstairs so I could get enough sleep to go to work, but we moved upstairs when the Penners came, and stayed there. We have a Graco Pack'n'Play next to the bed, but he mostly sleeps in the middle of the bed cradled by Honey. I sometimes get woken up to hold him in spit-up and other emergencies.
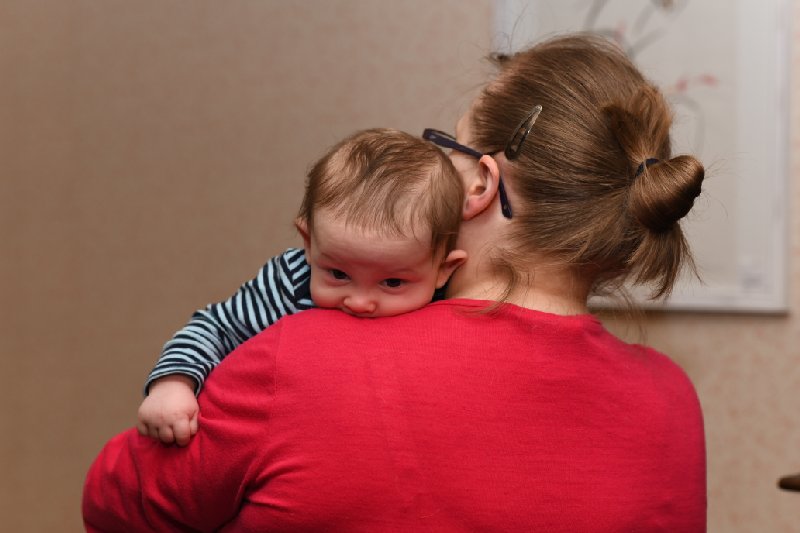
He does not like to lie down or sit by himself, very much preferring to be held, and that standing at the shoulder rather than in the more traditional "baby" sling carry. When he gets hungry or really needs a change he'll escalate his cries to a continually repeated "mah" (apparently he breathes through his nose, so he hardly needs to stop for breath, and he takes full advantage of that). He will get sleepy after eating, but will pop open wide eyes if disturbed. Instead, he prefers a walk around and singing (he likes hymns) and "shhh"ing has some effect too.
Like, 10 diapers a day. Did not expect that many. Why aren't there diaper-changing robots yet?
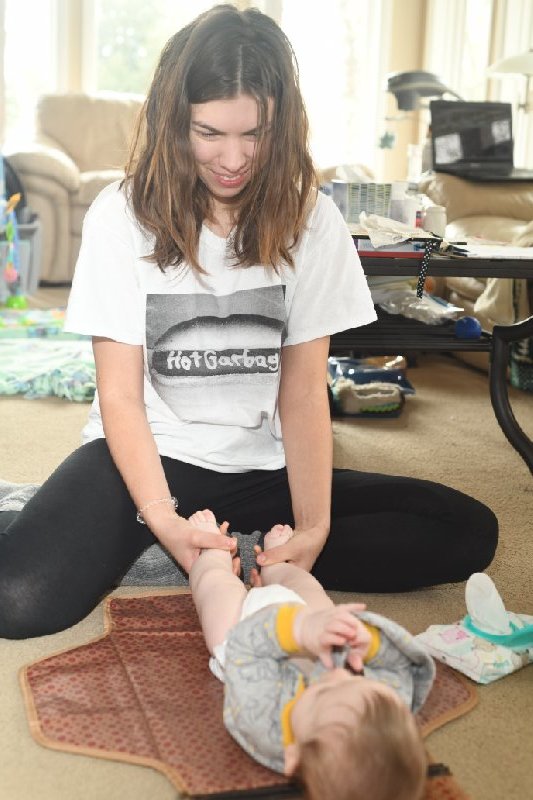
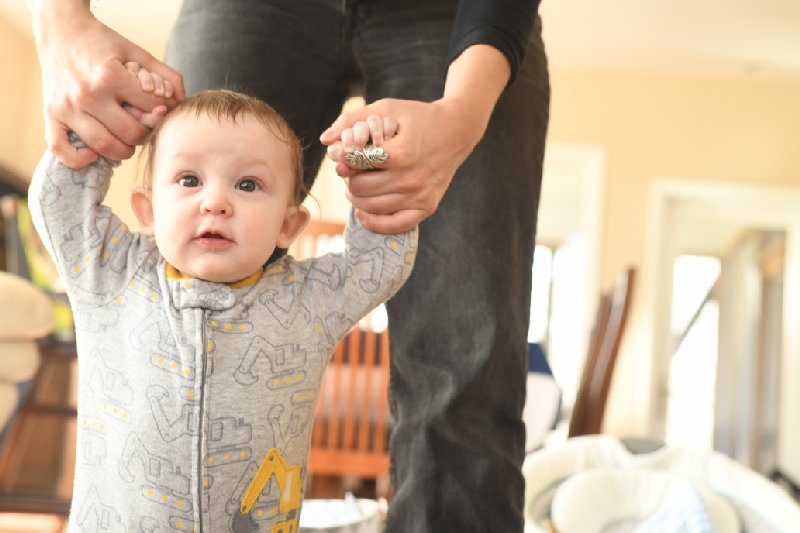
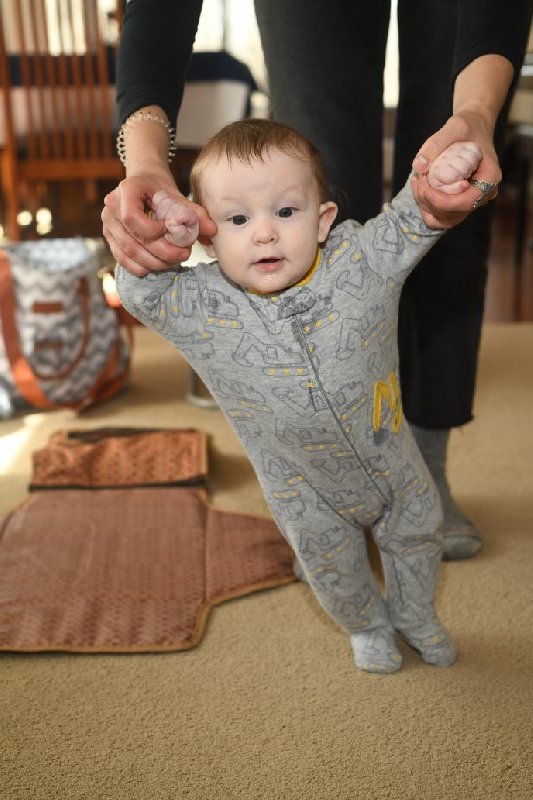
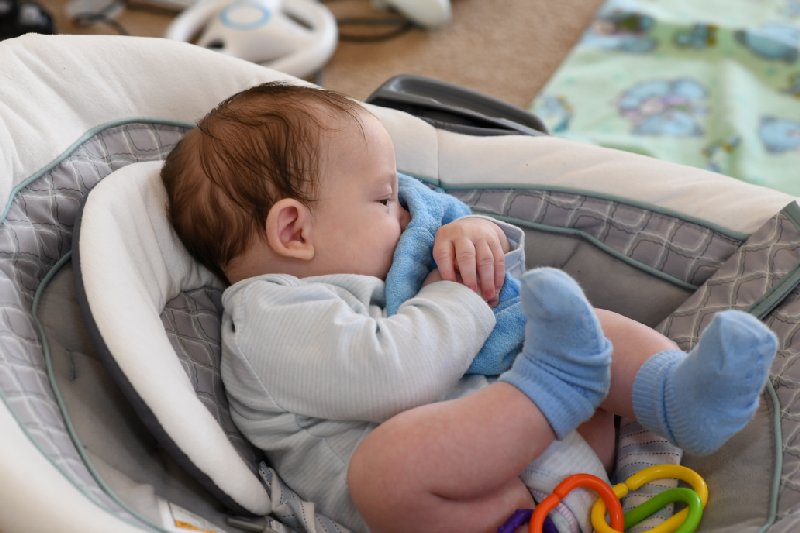
At 10 weeks, he is not very much into objects yet, at all (normal, but surprised me), but he's still figuring out his arms and hands are his and how they're connected. He will hold fingers and can sometimes be convinced to hold his hand around the few toys (like plastic keys) we got for him, but isn't very interested and will drop them quickly. He can hold his head up most of the time and can sit against a support, although he likes to dive to the side. He likes to lean to the side when held, too. When held by midsection, or, lately, hands alone, he can stand up ("The Standing Baby!").
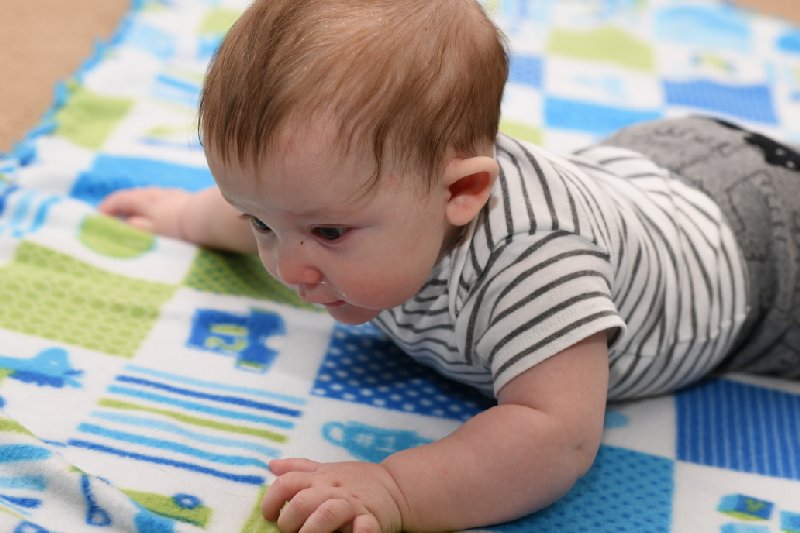
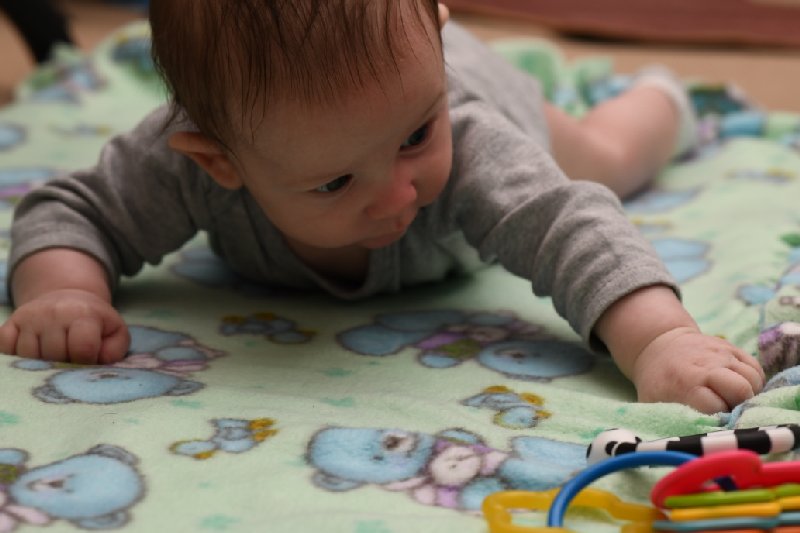
We try to give him some "tummy time" on his front on a blanket during the day to help him experiment with moving and perhaps eventually flipping himself to his back (when he can do that, he can sleep on his front) (he did it once very early, and then hasn't since).
He's had a couple rounds of vaccinations, a few of which made him cry briefly but he was fine soon after (mommy wasn't). He's got a bit of a cold now. He had good birth weight but lost a lot soon after, but now is doing great at 12.6 pounds, and probably a little over 24 inches by now.
I've taken a lot of photos of him, which have been posted here and are automatically synced to my Raspberry Pi digital photo frame at work—a popular Christmas gift suggestion for both sets of parents (need to set up easy touch-based wi-fi configuration, since mine is wired). The new Nikon I ordered is finally arriving tomorrow, so expect videos soon too.
<Previous 10 entries>